EN
EN

-
Product Series
- AG-01 Magnetic Cylinder Sensor
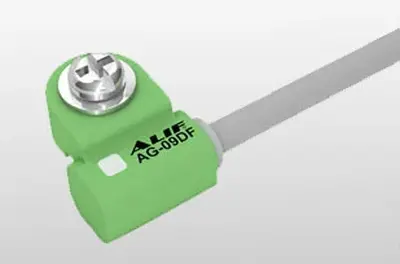
- AG-09 Magnetic Cylinder Sensor
- AG-14 Magnetic Cylinder Sensor
- AG-22 Magnetic Cylinder Sensor
- AG-25 Magnetic Cylinder Sensor
- AG-26 Magnetic Cylinder Sensor
- AG-27 Magnetic Cylinder Sensor
- AG-29 Magnetic Cylinder Sensor
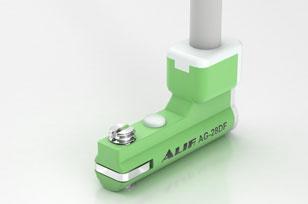
- AG-38 Magnetic Cylinder Sensor
- AG-39 Magnetic Cylinder Sensor
- AG-49 Magnetic Cylinder Sensor
- AG-59 Magnetic Cylinder Sensor

- Equipment Selection
- Application
- About ALIF
-
Services
- News
- Resource